Have you ever thought baking a delicious gluten-free apple pie could be simple and stress-free? This recipe proves it’s possible. With a flaky gluten-free crust and a sweet, spiced apple filling, this classic treat is perfect for any occasion.
Using quality gluten-free flour and cold ingredients ensures the dough comes together perfectly. Pre-cooking the filling helps achieve a crisp bottom crust, making every bite unforgettable.
Whether it’s for a holiday dinner or a family gathering, this gluten-free apple pie recipe is designed for everyone to bake confidently. You’ll learn essential techniques, from handling the dough to precise oven usage. Let’s get started!
Table of contents
- Introduction to Gluten-Free Apple Pie Recipe
- Essential Ingredients and Tools for the Best Gluten-Free Apple Pie
- Crafting a Perfect Gluten-Free Pie Crust
- Prepping the Gluten-Free Apple Pie Filling
- Assembling Your Gluten-Free Apple Pie Masterpiece
- Baking for a Crispy and Golden Gluten-Free Crust
- Gluten-Free Apple Pie Recipe: Expert Tips and Tricks
- Creative Variations and Gluten-Free Apple Pie Substitutions
- Conclusion
Introduction to Gluten-Free Apple Pie Recipe
Discover how a classic dessert can be transformed with a modern twist. This recipe combines the timeless appeal of a flaky crust with a rich, spiced filling, making it a standout choice for any occasion. Whether you’re new to gluten-free baking or a seasoned pro, this version is designed to impress.
What Makes This Gluten-Free Apple Pie a Must-Try
This recipe eliminates common baking issues like soggy crusts and watery fillings. The secret lies in the careful balance of ingredients and techniques. A pre-cooked filling ensures a crisp bottom, while the right blend of flour creates a tender yet sturdy crust.
Flavors like cinnamon, nutmeg, and a hint of lemon elevate the taste, making every bite unforgettable. Over the years, this recipe has been refined and tested, earning praise from trusted sources and home bakers alike.
The Appeal of Easy Gluten-Free Baking
Gluten-free baking offers several advantages. It’s easier on digestion and often results in a fresher, more vibrant taste. For those with dietary restrictions, it’s a way to enjoy beloved desserts without compromise.
Here’s a quick comparison of traditional vs. gluten-free baking benefits:
| Aspect | Traditional Baking | Gluten-Free Baking |
|---|---|---|
| Digestibility | May cause discomfort for some | Easier on the stomach |
| Texture | Can be dense or heavy | Light and airy |
| Flavor | Standard taste | Fresher, more vibrant |
Understanding these benefits will help you appreciate the art of gluten-free baking. Ready to dive into the details? Let’s explore the ingredients and techniques that make this recipe a winner.
Essential Ingredients and Tools for the Best Gluten-Free Apple Pie
Creating a dessert masterpiece starts with the right ingredients and tools. Whether you’re a seasoned baker or a beginner, understanding what goes into your recipe and how to use your equipment can make all the difference.
Key Ingredients: Apples, Gluten-Free Flour, and Spices
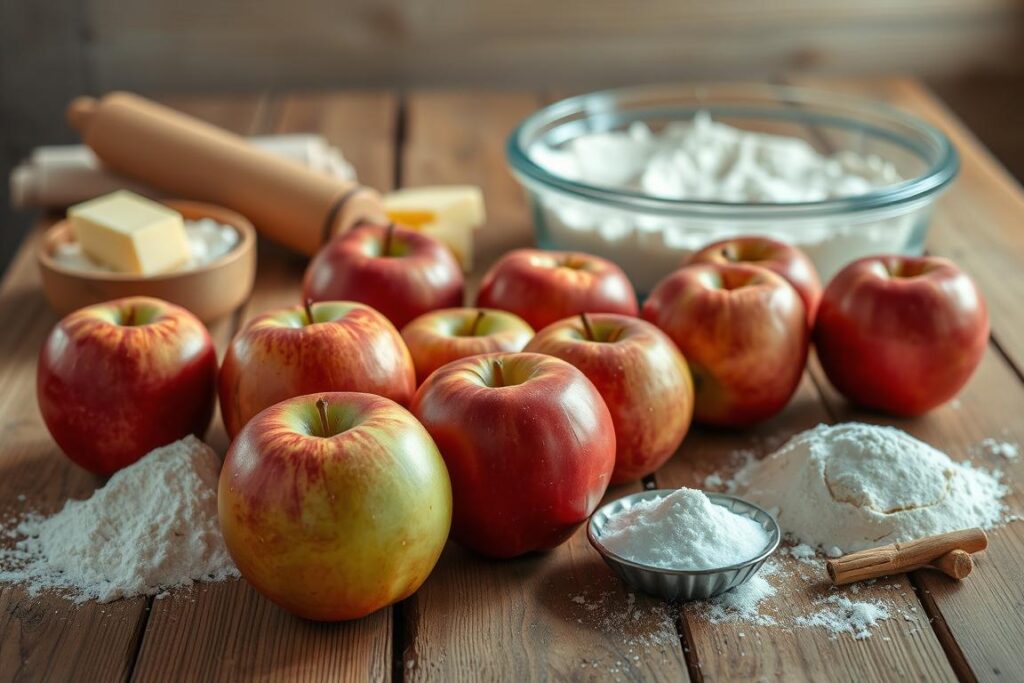
The heart of any great apple pie lies in its ingredients. Start with tart apples like Granny Smith. Their firm texture and tangy flavor balance the sweetness of the filling. For the pie crust, use a high-quality gluten-free 1:1 flour blend with xanthan gum. This ensures the dough holds together without becoming crumbly.
Warming spices like cinnamon and nutmeg add depth to the apple filling. Enhance the flavor with brown sugar, lemon juice, and a pinch of salt. These ingredients work together to create a balanced, rich taste.
Must-Have Kitchen Equipment for Homemade Apple Pie
Using the right tools simplifies the baking process. A food processor helps mix the dough quickly, preventing overworking. A metal pie plate ensures even baking and a crisp crust. Here’s a quick guide to essential equipment:
| Tool | Purpose |
|---|---|
| Food Processor | Mixes dough efficiently |
| Metal Pie Plate | Promotes even baking |
| Rolling Pin | Shapes the dough evenly |
| Pastry Brush | Applies egg wash for browning |
Chill the dough for at least an hour before rolling it out. Let it rest at room temperature for 10 minutes to make it easier to handle. These small steps ensure a flaky, tender crust every time.
Crafting a Perfect Gluten-Free Pie Crust
Mastering the art of a flaky crust is easier than you think. The key lies in selecting the right ingredients and using proven techniques. A well-made crust can transform your dessert into a showstopper.
Choosing the Right Gluten-Free Flour Blend for Pie Crust
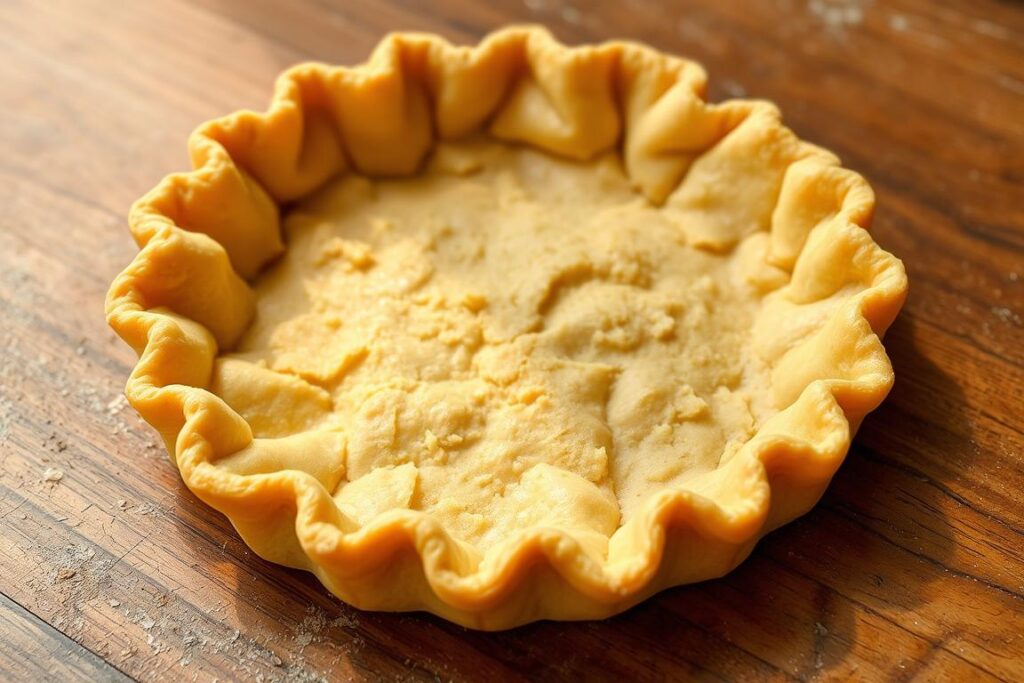
Start with a high-quality flour blend that includes xanthan gum. This ingredient helps bind the dough, ensuring it holds together without crumbling. Avoid blends with heavy starches, as they can make the crust dense.
Here’s a quick comparison of popular flour blends:
| Flour Blend | Best For |
|---|---|
| 1:1 Baking Flour | Versatile, works for most recipes |
| Almond Flour | Adds nutty flavor, great for texture |
| Oat Flour | Light and airy, best for softer crusts |
Techniques for a Flaky, Tender Gluten-Free Crust
Cut cold butter into small cubes and mix it into the flour until crumbly. Use a food processor for even distribution. Add ice water, sour cream, or vinegar to keep the dough cold and tender.
Chill the dough for at least an hour. This resting period allows the ingredients to hydrate fully. Roll the dough between plastic wrap to prevent cracks and ensure even thickness.
Follow these steps for a flawless crust:
- Freeze the butter before mixing.
- Use cold water to keep the dough firm.
- Chill the dough for at least one hour.
- Roll between plastic wrap for smooth handling.
With these tips, your crust will be flaky, tender, and ready to impress.
Prepping the Gluten-Free Apple Pie Filling
Preparing the filling is the heart of any great dessert, and this recipe ensures it’s done right. The key to a perfect apple filling lies in balancing flavors and achieving the right consistency. By pre-cooking the filling, you remove excess moisture, preventing a soggy pie crust.
Pre-cooking and Thickening the Apple Pie Filling
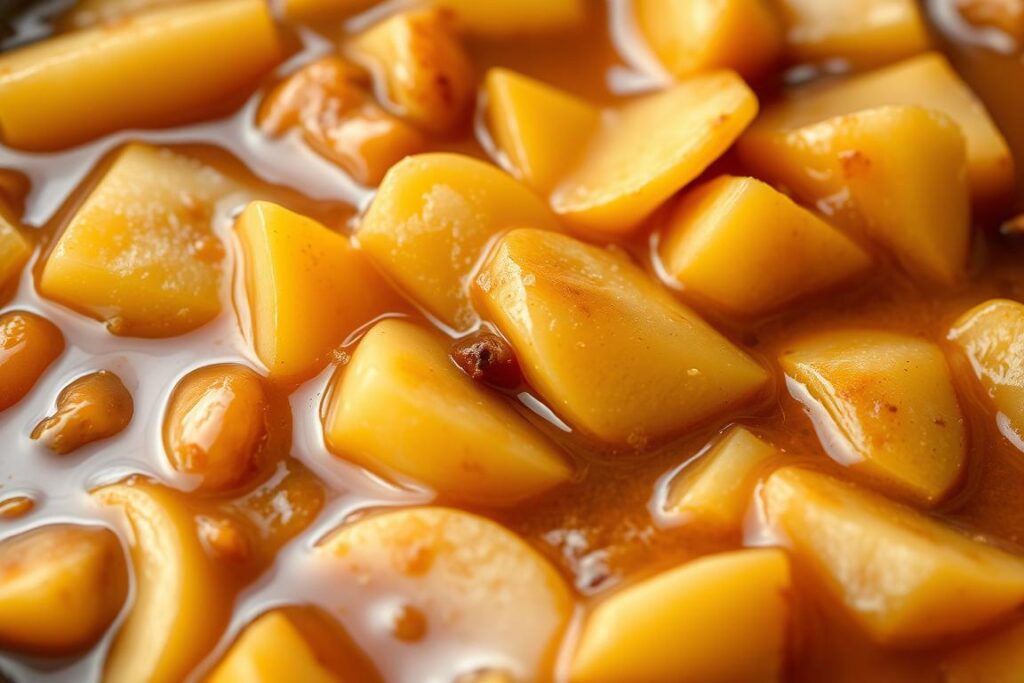
Start by slicing tart apples like Granny Smith evenly. This ensures uniform cooking and a balanced texture. In a pan, melt butter and add the apple slices. Sprinkle brown sugar, granulated sugar, and warm spices like cinnamon and nutmeg. A splash of lemon juice enhances the flavor and prevents browning.
Cook the apples until they soften slightly. To thicken the juices, mix cornstarch with water and stir it into the pan. This creates a glossy, thick sauce that coats the apples perfectly. Let the mixture simmer until it reaches the desired consistency.
Cooling the filling is crucial. Spread it over a baking sheet to speed up the process. Once at room temperature, refrigerate it briefly. This step prevents the dough from steaming and ensures a crisp crust.
With these techniques, your apple filling will be flavorful, thick, and ready to elevate your dessert. Follow these steps, and you’ll master the art of the perfect filling every time.
Assembling Your Gluten-Free Apple Pie Masterpiece
Assembling a dessert that looks as good as it tastes is simpler than you might think. With the right techniques, you can create a polished finish that will impress anyone. Follow these steps to ensure your pie crust is flaky, your apple filling is perfectly distributed, and your final product is golden and delicious.
Step-by-Step Guide to Homemade Gluten-Free Apple Pie
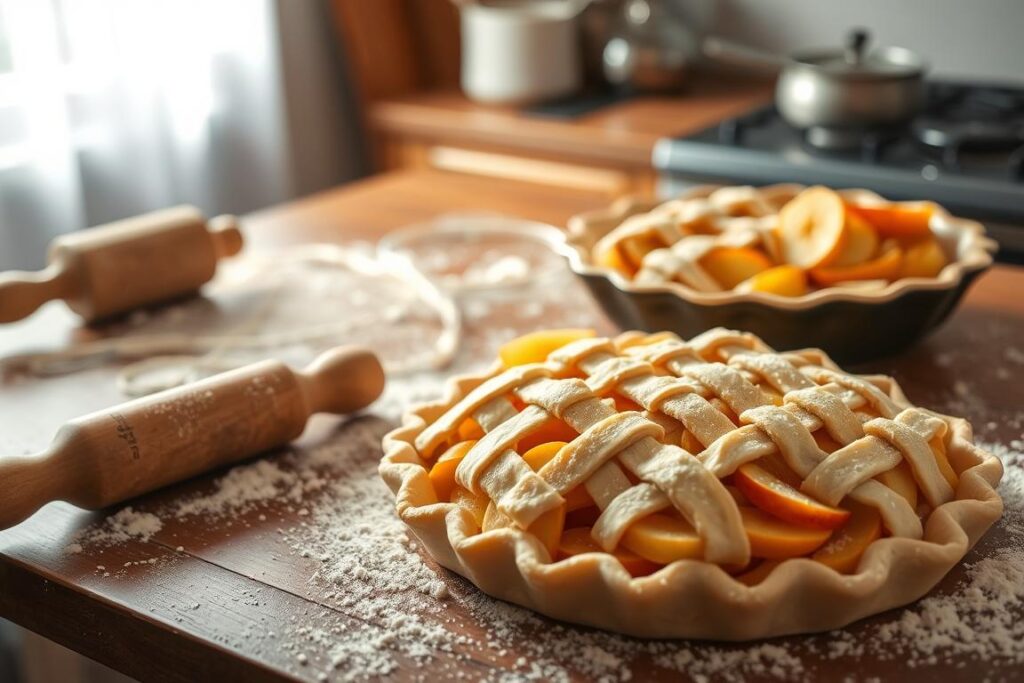
Start by rolling out your chilled dough between two sheets of plastic wrap. This prevents cracks and makes it easier to handle. Invert the rolled-out dough into your pie plate, gently pressing it into the edges. Trim any excess, leaving a slight overhang for sealing.
Next, evenly spread your pre-cooled apple filling into the crust. Ensure the apples are distributed uniformly for consistent flavor in every bite. Carefully place the top crust over the filling, sealing the edges by pinching them together or using a fork for a decorative touch.
Cut small slits in the top crust to allow steam to escape during baking. This prevents the crust from becoming soggy. For a glossy, golden finish, brush the top with an egg wash or milk. This step adds both visual appeal and a subtle richness to the crust.
Essential Tools and Tips for a Perfect Gluten-Free Dessert
| Tool | Purpose |
|---|---|
| Rolling Pin | Shapes the dough evenly |
| Pastry Brush | Applies egg wash for browning |
| Plastic Wrap | Prevents dough from sticking |
| Sharp Knife | Creates steam vents in the crust |
Work swiftly to keep the dough cold, as this prevents sticking and tearing. Once assembled, chill the pie in the fridge for 10-15 minutes before baking. This ensures the crust holds its shape and bakes evenly.
With these techniques, your dessert will not only taste amazing but also look professionally crafted. Follow these steps, and you’ll master the art of assembling a flawless apple pie every time.
Using the right tools can make the assembly process smoother. Here’s a quick guide to what you’ll need:
Baking for a Crispy and Golden Gluten-Free Crust
Achieving a crispy, golden crust is easier than you might expect with the right techniques. The key lies in understanding how to control heat and use tools effectively. By following these steps, you’ll ensure your dessert is perfectly baked every time.
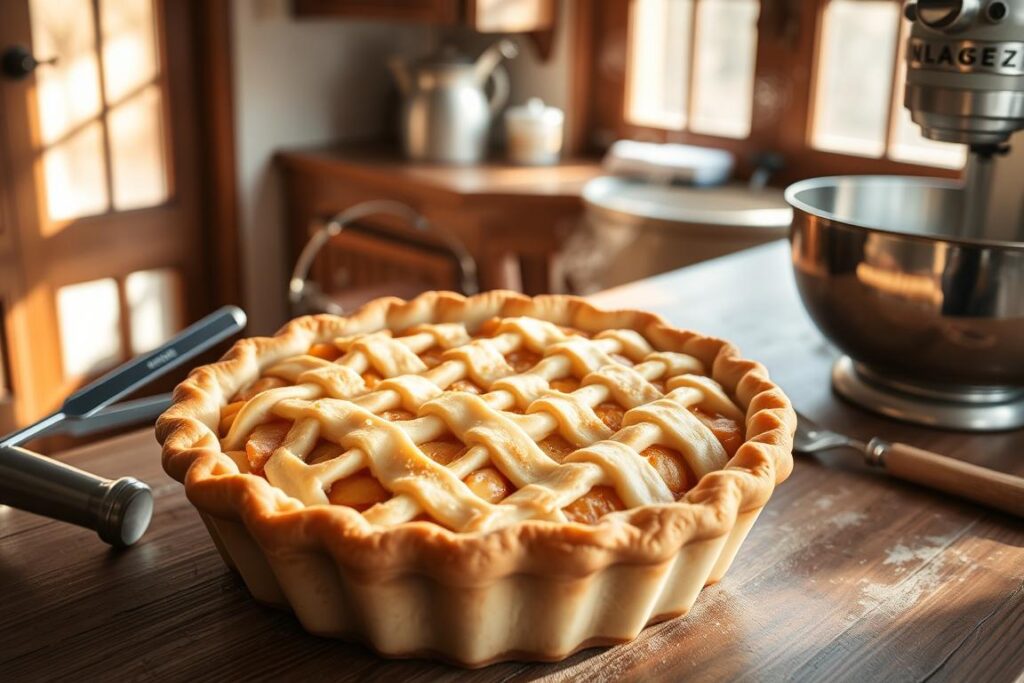
Utilizing Preheated Baking Sheets for a Perfect Gluten-Free Pie
Start by preheating your oven to 400°F. Place a baking sheet inside to heat up as well. This extra step ensures the bottom of your crust becomes crisp and golden. Once the oven is ready, position your dessert in the center for even heat distribution.
After 15 minutes, reduce the temperature to 375°F. This gradual adjustment prevents over-browning while allowing the filling to set properly. If the edges of the crust brown too quickly, cover them with foil to protect them.
Here’s a quick guide to ensure success:
| Step | Purpose |
|---|---|
| Preheat oven and baking sheet | Ensures a crispy bottom crust |
| Start at 400°F, then reduce to 375°F | Prevents over-browning |
| Use foil for edges | Protects from burning |
Look for signs of a successful bake, like a bubbly filling and a firm, flaky crust. These methods are especially helpful for preventing common issues like a soggy bottom. With these tips, your dessert will be a showstopper every time.
Gluten-Free Apple Pie Recipe: Expert Tips and Tricks
Even experienced bakers can benefit from advanced tips to elevate their creations. Whether you’re troubleshooting common issues or customizing your recipe, these expert insights will help you achieve a flawless dessert every time.
Preventing Soggy Gluten-Free Pie Crusts and Uneven Baking
A soggy crust can ruin an otherwise perfect dessert. To avoid this, ensure the edges are sealed tightly. Pre-cooking the filling removes excess moisture, which is key to a crisp bottom. Use a preheated baking sheet to promote even heat distribution.
If the edges brown too quickly, cover them with foil. Rotating the dessert halfway through baking ensures uniform cooking. These small adjustments can make a big difference in the final texture.
Adjustments for Personal Taste in Gluten-Free Baking
Customizing your recipe is simple with a few tweaks. Add extra lemon juice for a tangier flavor or increase the sugar for a sweeter taste. Adjusting the spices, like cinnamon or nutmeg, can also enhance the flavor profile.
For a firmer texture, extend the resting time of the dough in the fridge. If you prefer a softer crust, reduce the baking time slightly. Here’s a quick guide to common adjustments:
| Adjustment | Effect |
|---|---|
| Extra Lemon Juice | Adds tanginess |
| More Sugar | Increases sweetness |
| Longer Resting Time | Firmer texture |
| Reduced Baking Time | Softer crust |
By paying attention to these details, you can create a dessert that suits your preferences perfectly. With these expert tips, your recipe will consistently deliver impressive results.
Creative Variations and Gluten-Free Apple Pie Substitutions
Adapting traditional recipes to fit dietary needs doesn’t mean sacrificing flavor. With a few simple swaps, you can create a dessert that’s just as delicious and inclusive. Whether you’re avoiding dairy or following a vegan lifestyle, these alternatives ensure everyone can enjoy a slice.
Dairy-Free and Vegan Alternatives
For a dairy-free pie crust, replace traditional butter with vegan butter or coconut oil. These fats provide the same flaky texture without compromising taste. If your recipe calls for sour cream, try using dairy-free sour cream or even unsweetened applesauce for a similar consistency.
When it comes to the apple filling, swap out regular butter for a plant-based alternative. Use maple syrup or agave nectar instead of honey to keep it vegan. These substitutions have been tested and recommended by trusted sources, ensuring your dessert turns out perfectly every time.
For those who enjoy experimenting, consider a crumble topping instead of a double crust. Mix oats, almond flour, and coconut oil for a crunchy, gluten-free alternative. This variation adds a unique texture and flavor to your dessert.
These swaps aren’t just limited to apple pie. They can also be applied to other favorites like pumpkin pie or even fruit tarts. The key is to maintain the right balance of ingredients to ensure a successful bake.
Encourage creativity in your kitchen. Try different combinations of spices like cinnamon and nutmeg to enhance the flavor. With these tips, you can create a dessert that’s tailored to your preferences while still being inclusive and delicious.
Conclusion
Baking a delightful dessert doesn’t have to be complicated or intimidating. This recipe simplifies the process, guiding you from creating the perfect pie crust to preparing a flavorful filling. With fail-safe methods like pre-cooking the filling and using a preheated baking sheet, you’ll achieve a crispy, golden crust every time.
Whether it’s for a holiday or a casual gathering, this apple pie is sure to impress. The expert tips shared throughout this article ensure your dessert turns out flawless. Feel free to experiment with spices or toppings to make it your own.
We’d love to hear about your experience! Share your results, leave a comment, or follow us for more recipes. With this recipe, you’re not just baking a dessert—you’re creating memories. Happy baking!
FAQ
What makes this recipe a must-try?
This recipe stands out for its simplicity and delicious results. It uses a gluten-free flour blend to create a flaky, tender crust that rivals traditional versions. The filling combines sweet and tart flavors, making it a crowd-pleaser.
Why is gluten-free baking appealing?
Gluten-free baking allows those with dietary restrictions to enjoy classic desserts without compromise. It also introduces unique textures and flavors, making it a fun and creative culinary challenge.
What are the key ingredients for this recipe?
You’ll need apples, a gluten-free flour blend, butter, sugar, cinnamon, and nutmeg. These ingredients work together to create a balanced flavor and perfect texture.
What kitchen tools are essential for this recipe?
A rolling pin, pie dish, mixing bowls, and a sharp knife are must-haves. A preheated baking sheet is also crucial for achieving a crispy crust.
How do I choose the right gluten-free flour blend?
Look for a blend that includes rice flour, tapioca starch, and xanthan gum. These ingredients mimic the texture of traditional flour and ensure a flaky crust.
What techniques ensure a flaky, tender crust?
Keep your butter cold, handle the dough minimally, and let it rest in the fridge before rolling. These steps prevent the crust from becoming tough.
Should I pre-cook the apple filling?
Pre-cooking the filling helps thicken it and prevents a soggy crust. It also enhances the flavors by allowing the spices to meld with the apples.
How do I assemble the pie step-by-step?
Roll out the dough, place it in the pie dish, add the filling, and top with the second crust. Seal the edges and cut vents to allow steam to escape during baking.
What’s the best way to bake for a crispy crust?
Use a preheated baking sheet and bake at 375°F. This ensures even heat distribution and a golden, crispy finish.
How can I prevent a soggy crust?
Pre-cook the filling, use a preheated baking sheet, and avoid overloading the pie with liquid. These steps help maintain a crisp base.
Are there dairy-free or vegan alternatives?
Yes, you can substitute butter with coconut oil or vegan margarine. For the filling, use maple syrup or agave instead of sugar.


